
In this video tutorial, we discuss how to set up All in One SEO Pack Plugin for WordPress and optimize your website. Below we will follow up the video with snapshots and a walkthrough of all the important settings of the plugin, and our recommendations for your initial setup. There are many options, and they can be confusing for a new user, but it is important to get the settings correct, because a lot of them can greatly affect your search results (either positively or negatively). After you install the All In One SEO Pack Plugin, you will want to click on General Settings, and begin to set up all of the general settings for your site.
General Settings
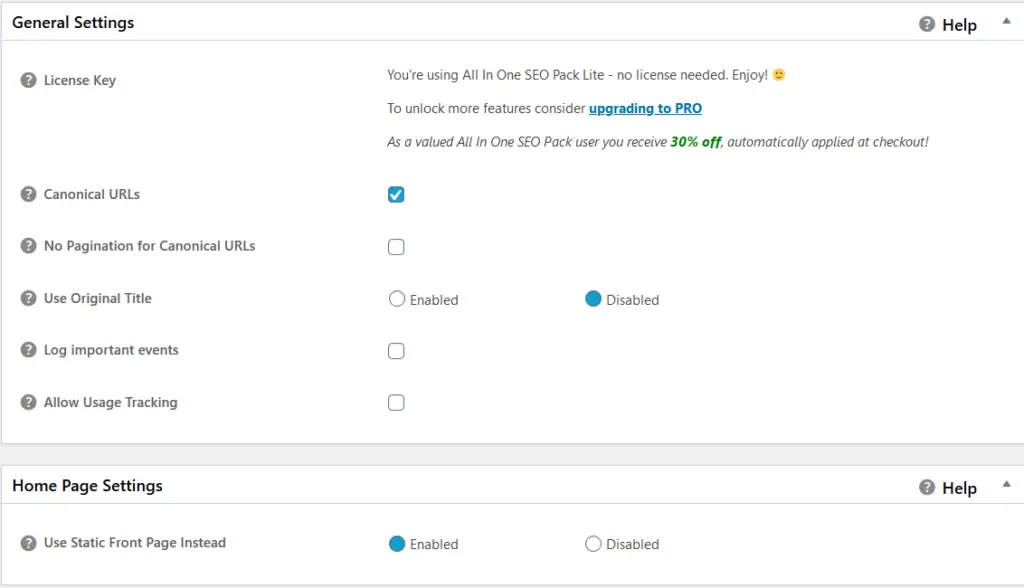
Canonical URLs – Checking this option will help to make sure that the search engines only index one version of any duplicate content that you may have on your site.
No Pagination for Canonical URLs – Takes off any paginated URLs such as /page/2/ from the end of your URL string
Use Original Title – Keep this option disabled unless you want to use the page title from your main WordPress settings
Log Important Events – Check if you want to log important events that happen on your page
Allow Usage Tracking – Allows the plugin developer to track usage.
Use Static Front Page – Enable if you are using a static homepage and not a page that updates like a posts page for your homepage.
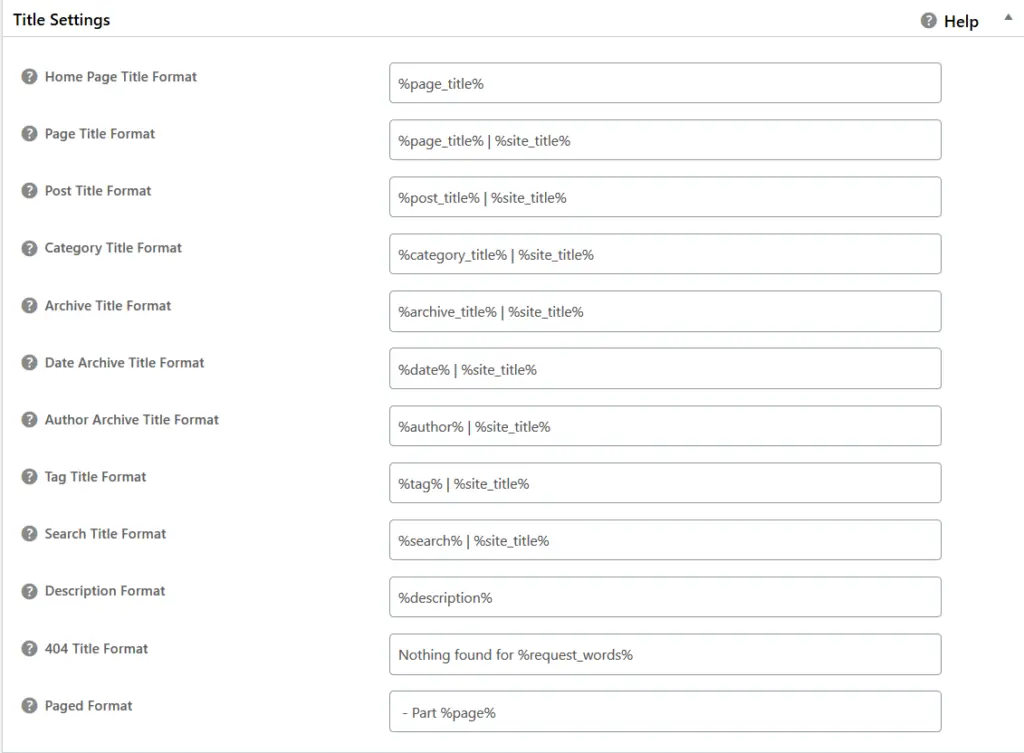
Site-Wide Macros – Use the above macros to set your meta information site-wide for all of your different site elements. Hover over the ? to receive more suggestions for your setup.
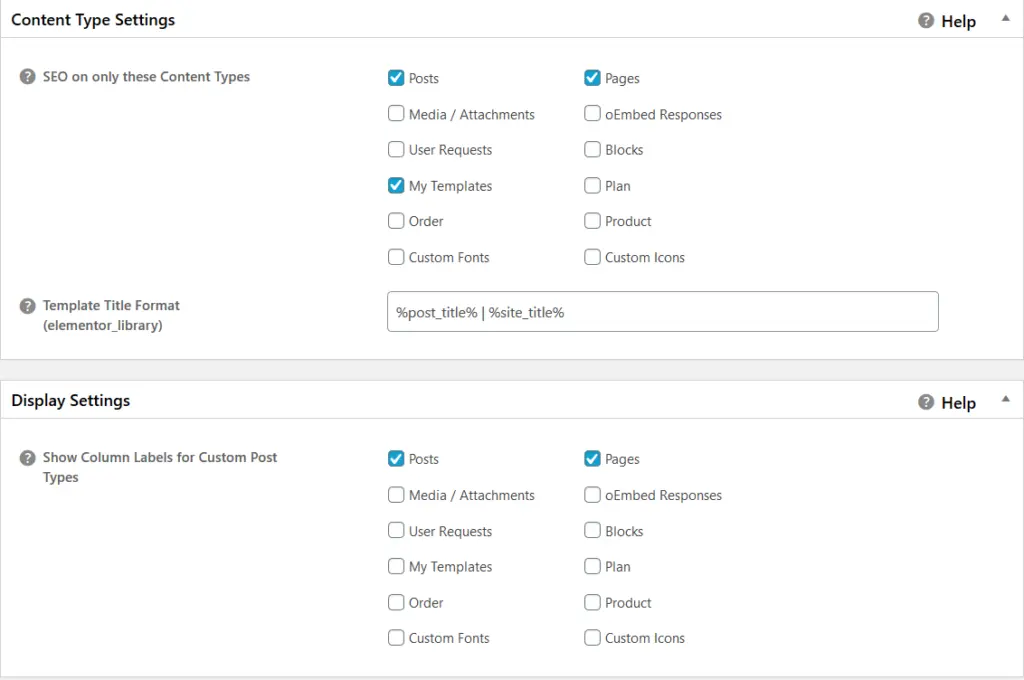
SEO on these Content Types – The All-in-One SEO settings will show up in your content for all of the types that you have selected. Normally Pages and Posts should be sufficient if you want to edit the meta information while you are inside the content section.
Show Column Labels for Custom Post – There will be columns to edit the title and description of your pages and posts from the “All Pages” and “All Posts” screen if you check these boxes. It is easy to do quick edits of multiple pages when this is checked.
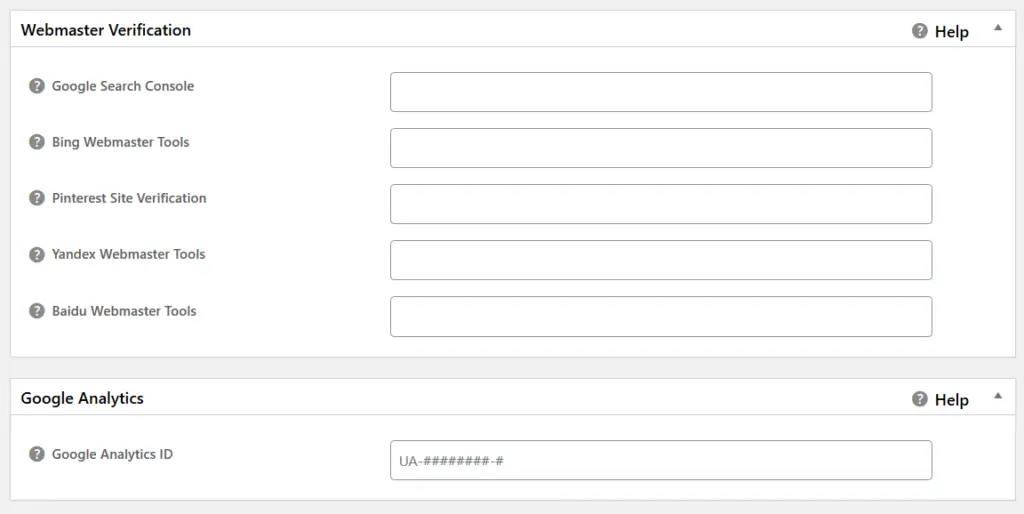
Webmaster Verifications – Put your search console and other webmaster verification information here in order to verify your website
Google Analytics ID – Use your Google Analytics ID here to verify your analytics
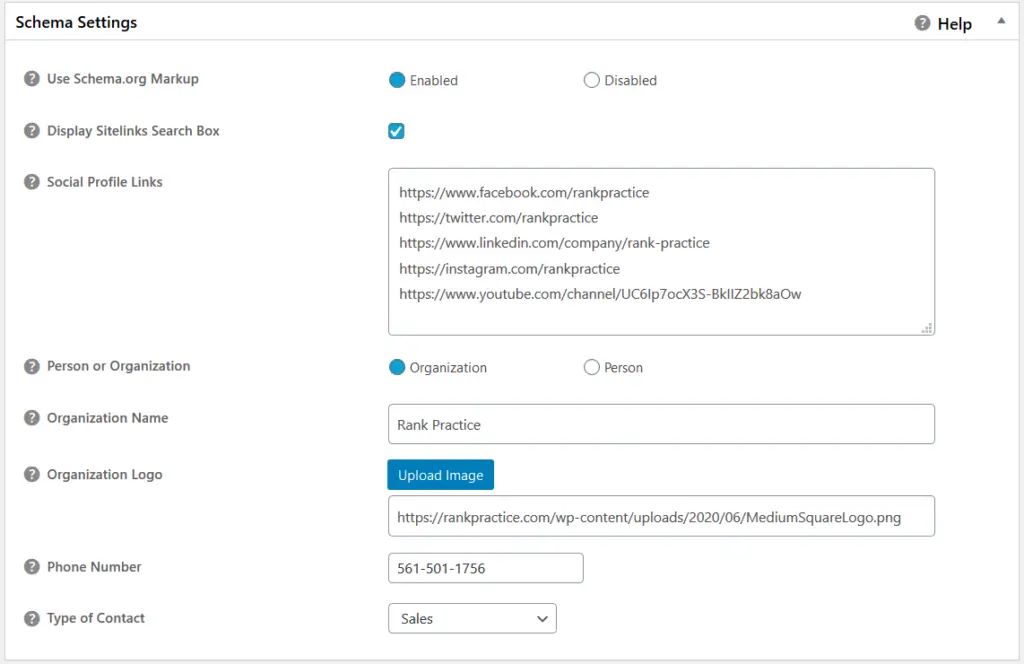
Use Schema.org Markup – Enable to allow for the search engines to display rich snippets when showing your search engine listing. Rich snippets create a higher click through rate from Google.
Display Sitelinks Search box – Check this box to allow Google to deliver your sitelinks when displaying your site on the search engine. This doesn’t guarantee that they will be displayed, but it allows them to display the sitelinks if they choose to do so.
Social Profile Links – Enter all of your social media links on each line to add them to the data.
Organization Info – Enter all of your contact info to the Schema data.
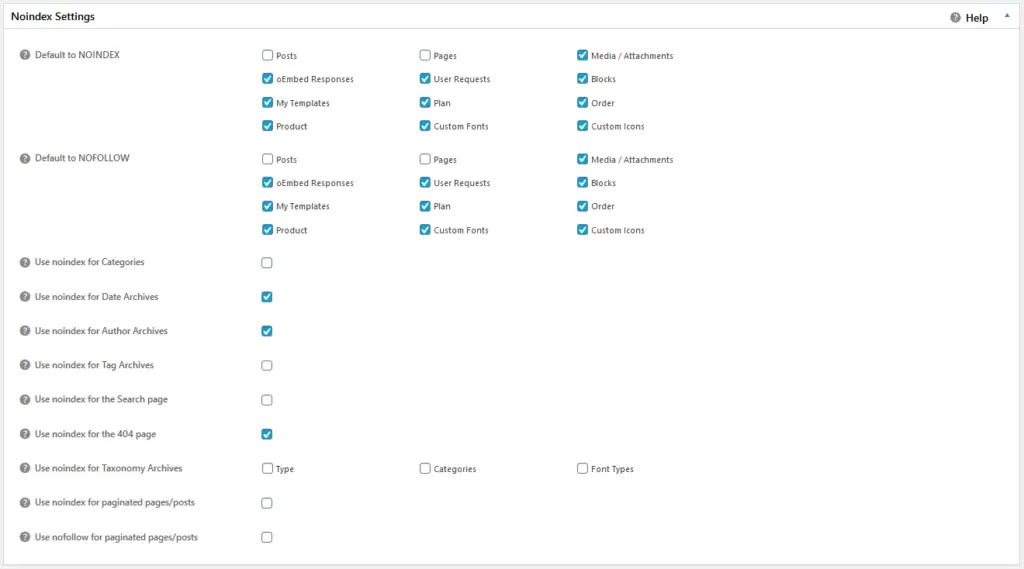
NoIndex Settings – Here you can set which types of content get indexed by the search engines. Normally Pages and Posts should be left unchecked.
NoFollow Settings – All the checked boxes will have links marked as NoFollow. Leave your Posts and Pages unchecked.
NoIndex for Categories – Leave this unchecked if you would like the search engines to index your categories pages.
Other NoIndex Settings – Check whichever of the boxes that you would like to be blocked from search.
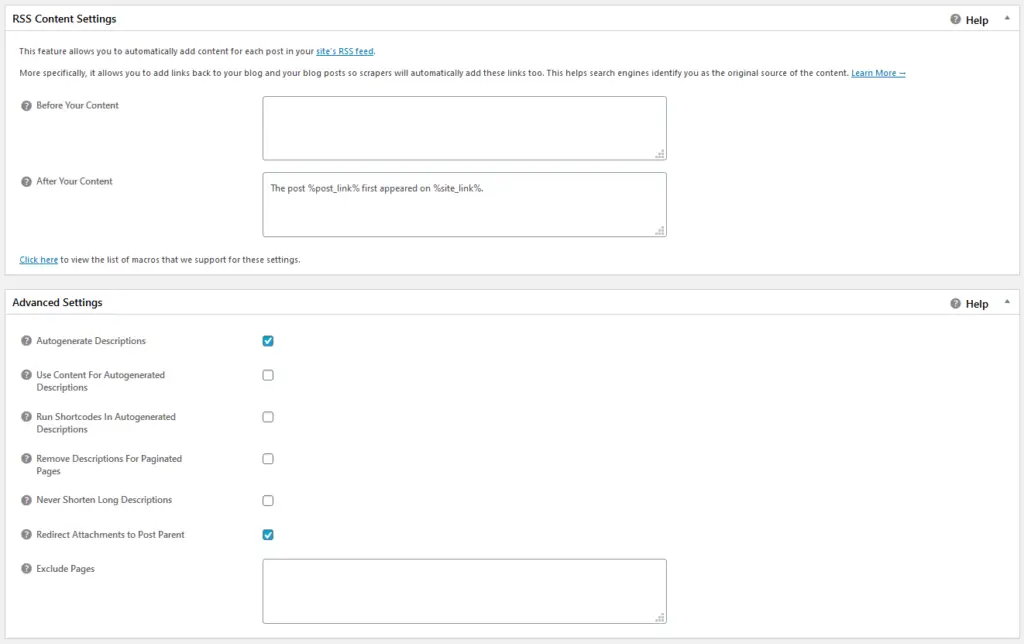
RSS Content Settings – You can create content that will display when posting from your feed to social media.
Autogenerate Descriptions – This will generate descriptions automatically based on the excerpt of your posts.
Use Content For Autogenerated Descriptions – This will generate descriptions automatically as well, but instead of using excepts, it will use part of your content for the descriptions.
Redirect Attachments to Post Parent – This option will redirect your attachment pages to the parent page that uses the attachment. If you keep this checked, make sure that your attachment pages aren’t still getting indexed, or you can also uncheck this if you have all your attachments marked as NoIndex in the previous section.
Feature Manager
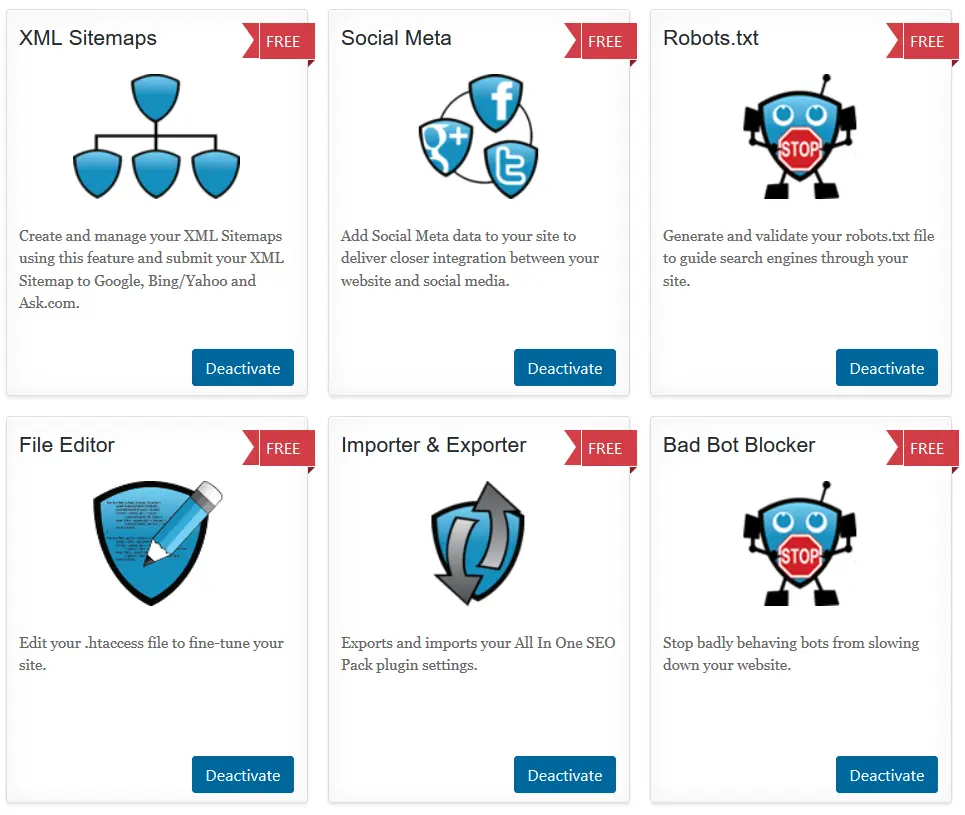
Enter feature manager and enable all of the free features that are available for you to use.
XML-Sitemap

Enable Sitemap Indexes – Select this option so that it will create a tree for your sitemaps which each of your content section being its own sitemap.
Maximum Posts Per Sitemap Page – Most sites probably will be ok with 1000, unless you have an extremely large website.
Post Types – Check which to make sitemaps for, normally would be your Posts and Pages.
Taxonomies – Create sitemaps for your Categories and Tags.
Dynamically Generate Sitemap – Check in order to keep the search engines informed dynamically of any changes and updates to your website.
Social Meta
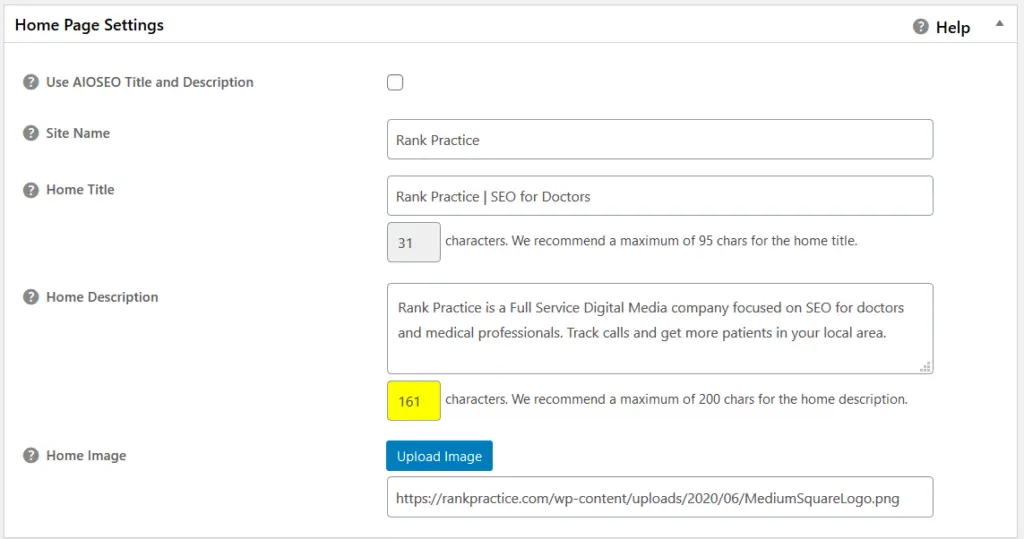
Site Information – Enter your website information for social media meta.

OG: Image Source – Use Featured Image for your Open Graph image source which will display the featured image for each post.
Default OG:Image – This will be used as a fallback image in case there is no featured image for the post.
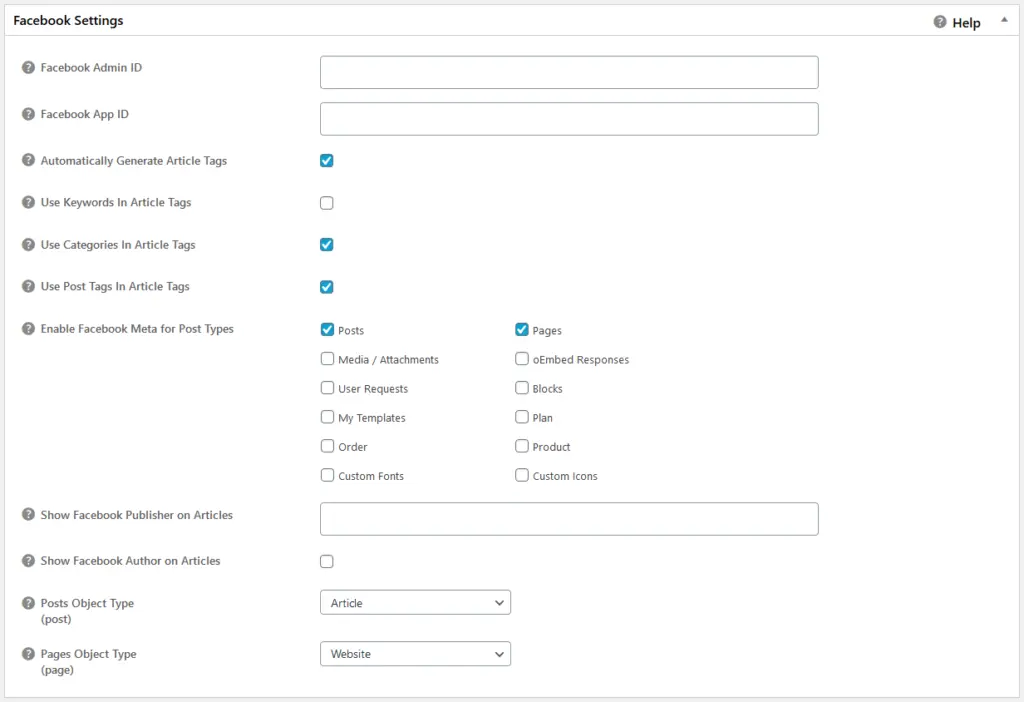
FB Information – You can enter all of your Facebook Account Information here to attach your profile.
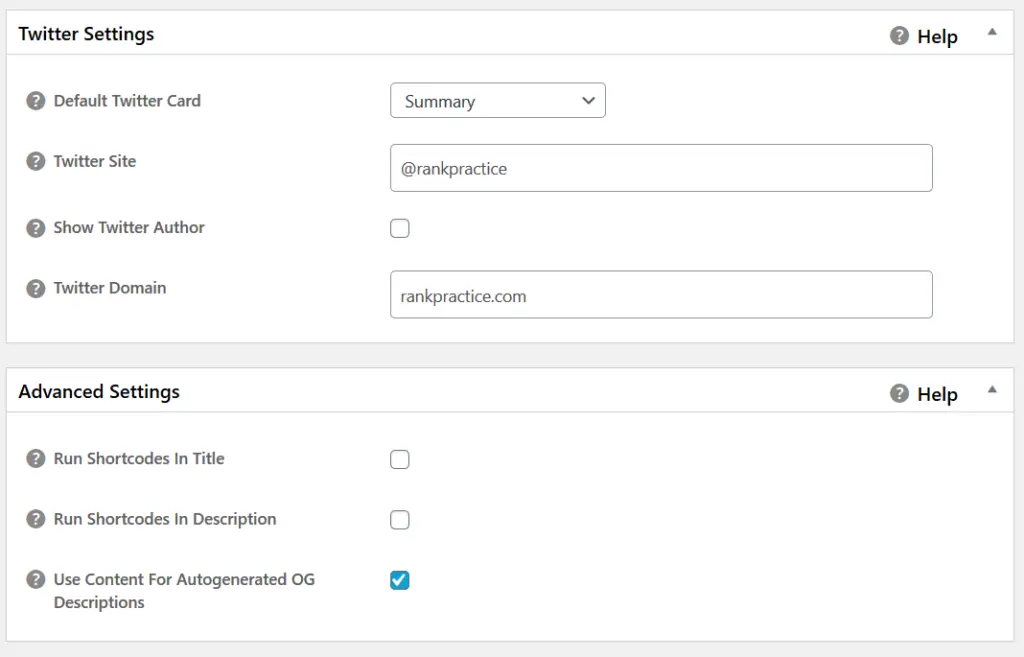
Twitter Site & Domain – Attach your Twitter handle here.
Robots
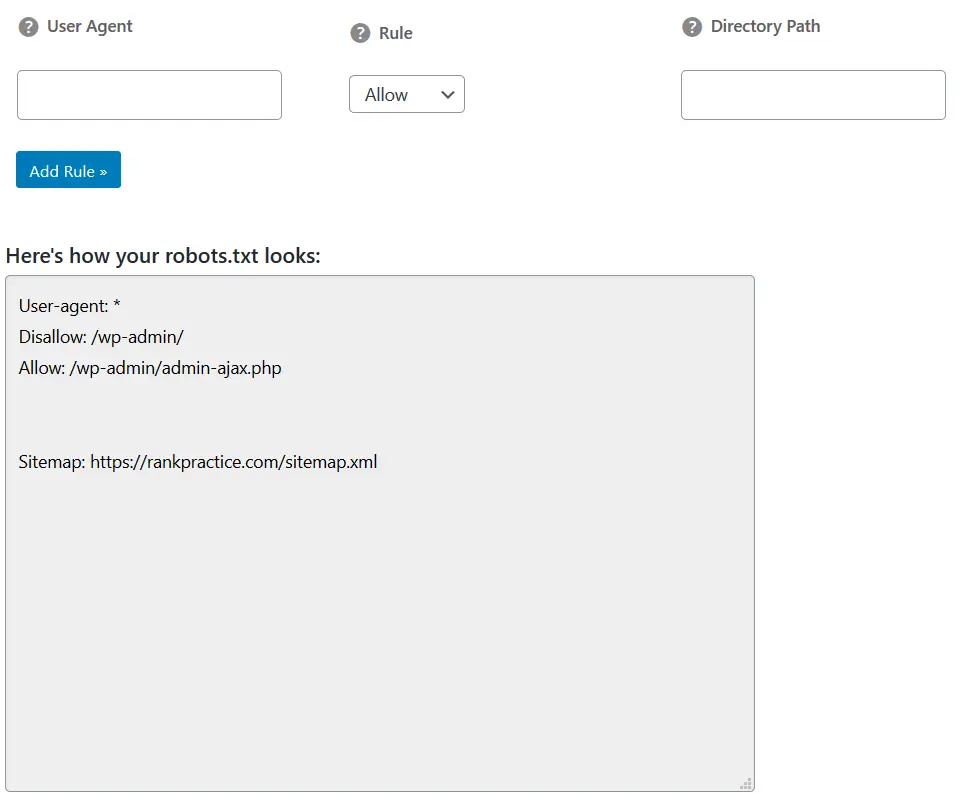
Robots.txt – Use your robots file to tell the search engines about the pages you want indexed on your site.
This was our tutorial for the All in One SEO Pack Plugin for WordPress. A fairly lengthy explanation, but it should help to set up a lot of the on-page SEO for your site. If you have any issues with setup or have any other questions, please feel free to contact us to request a consultation, and we will be glad to help you out with your WordPress Web Design.